
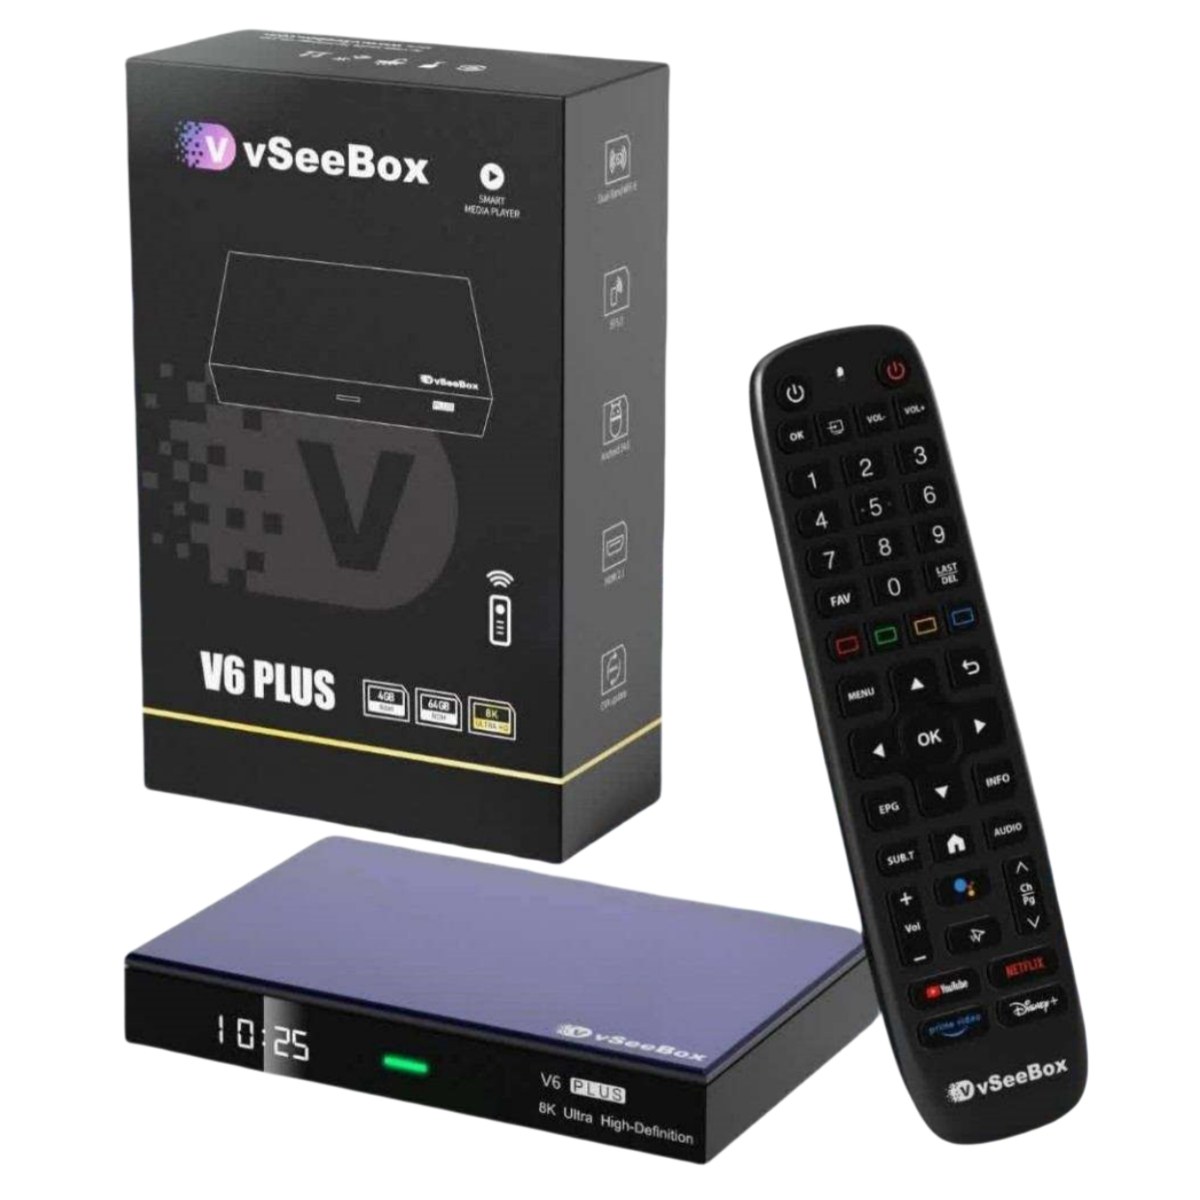
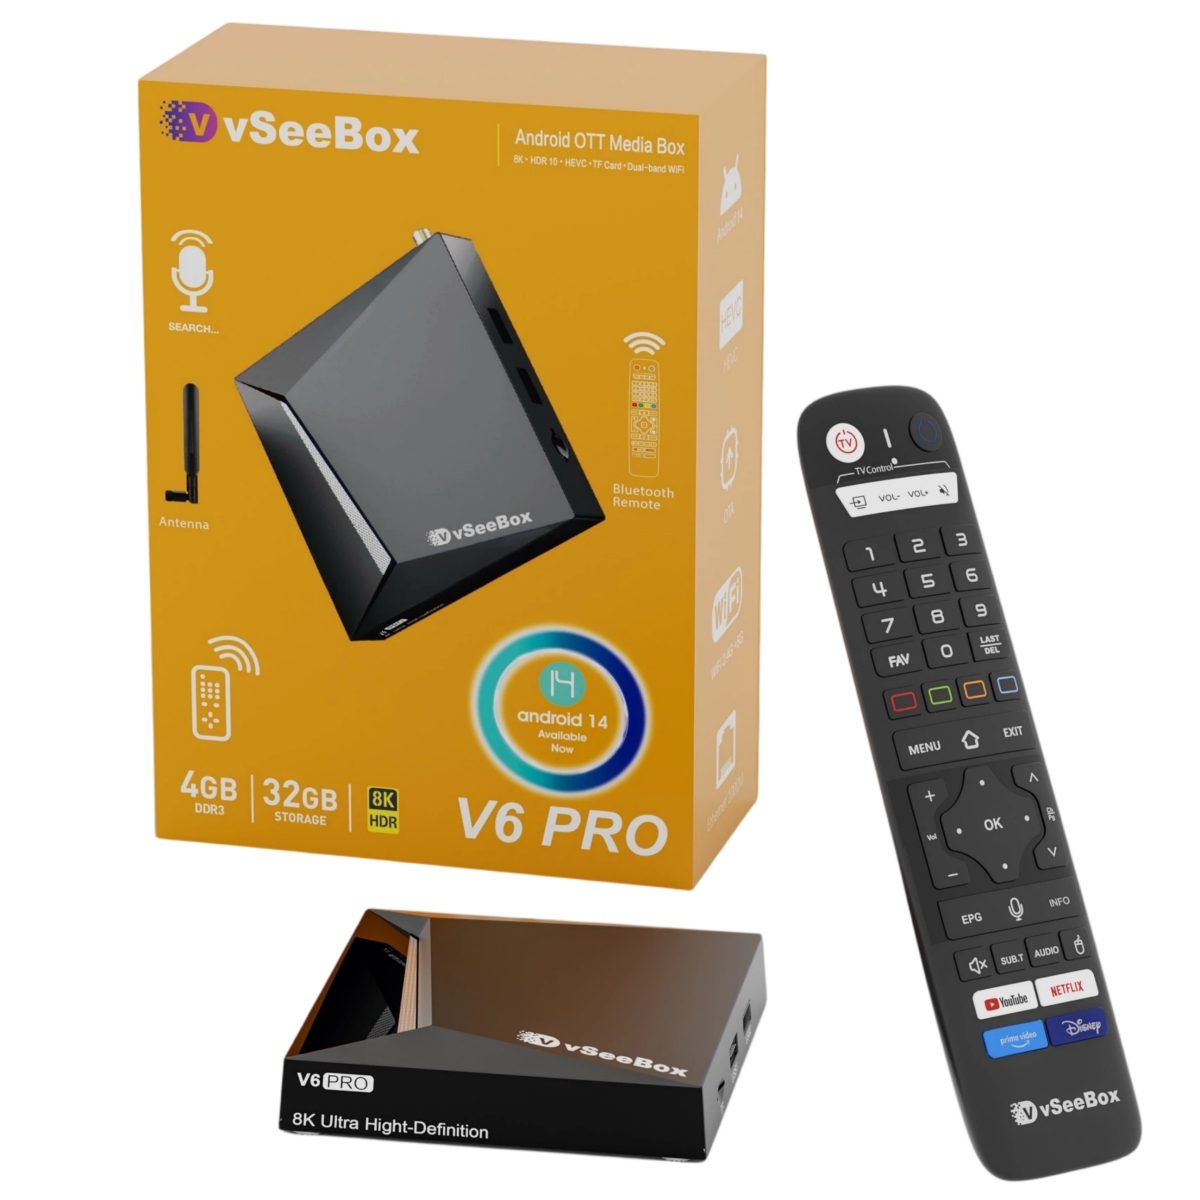
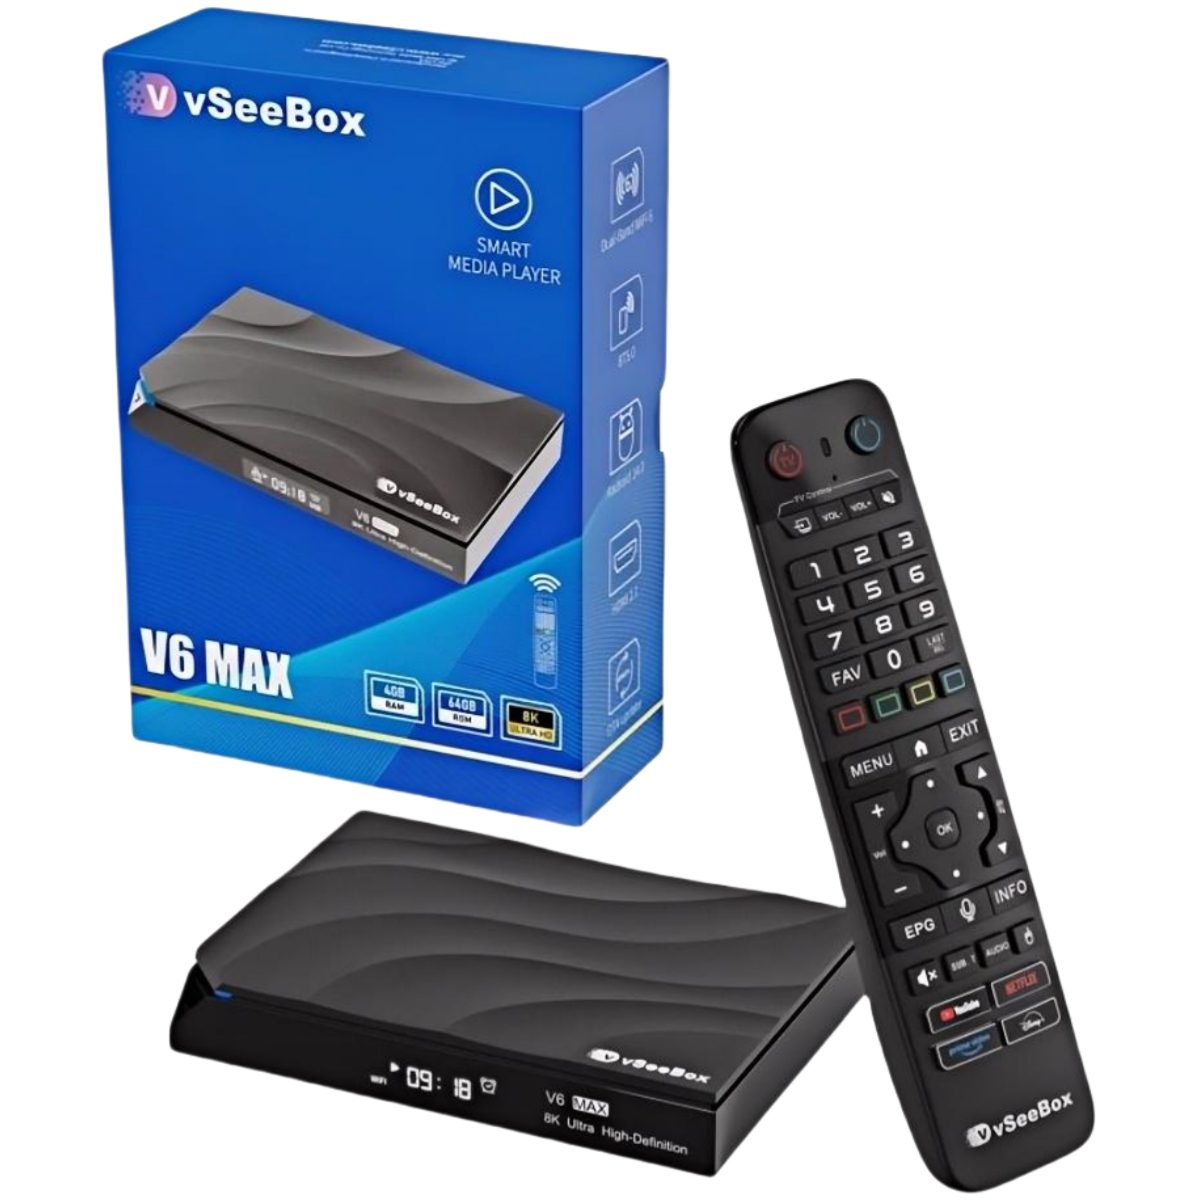
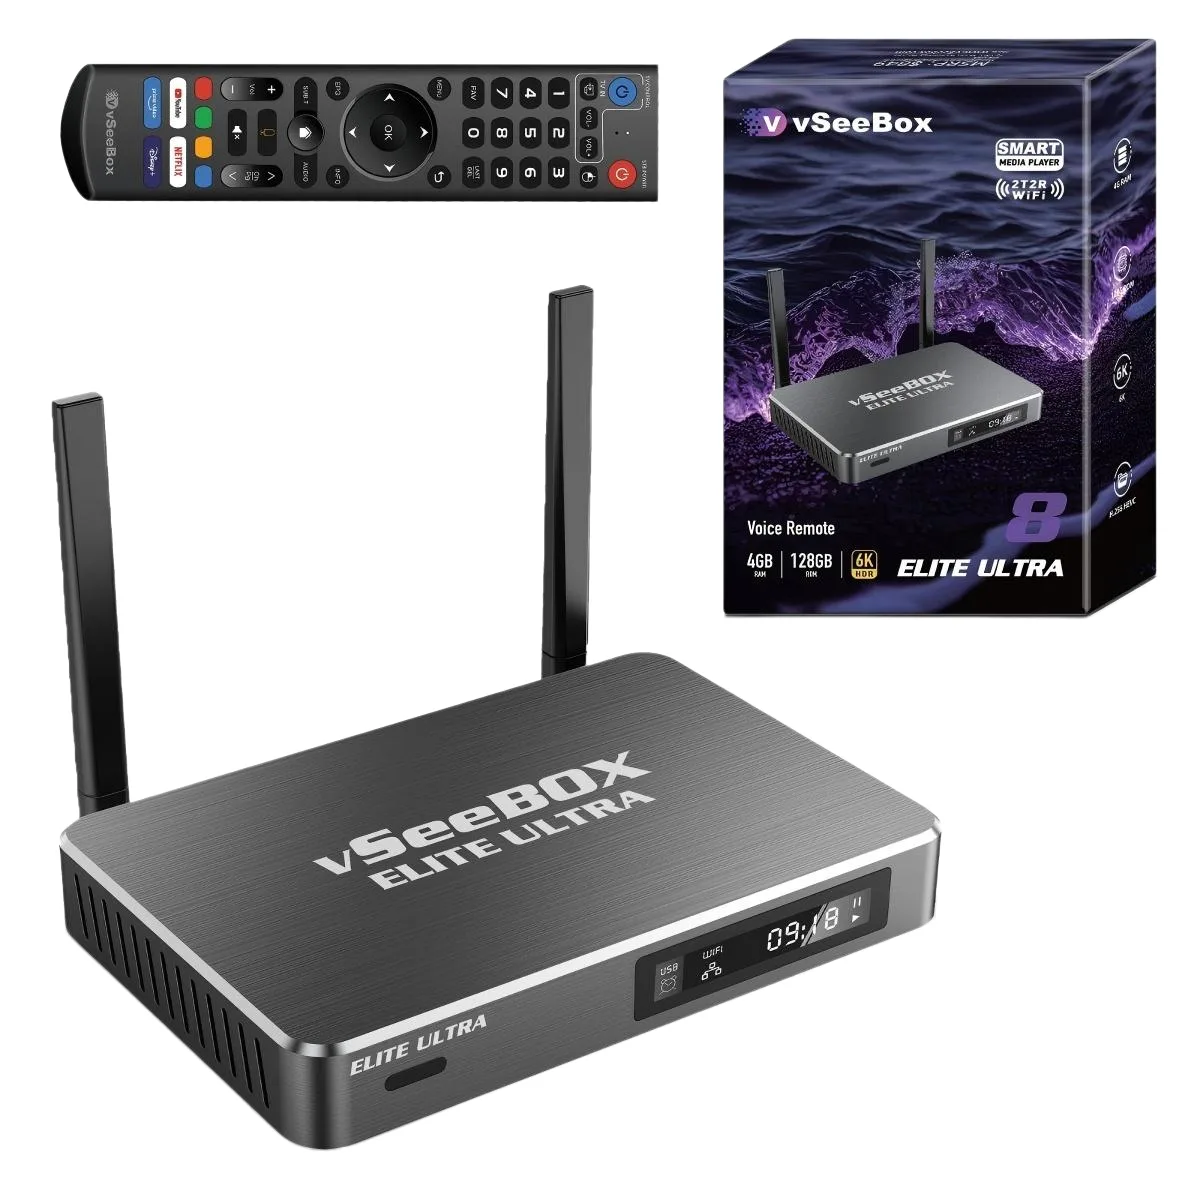
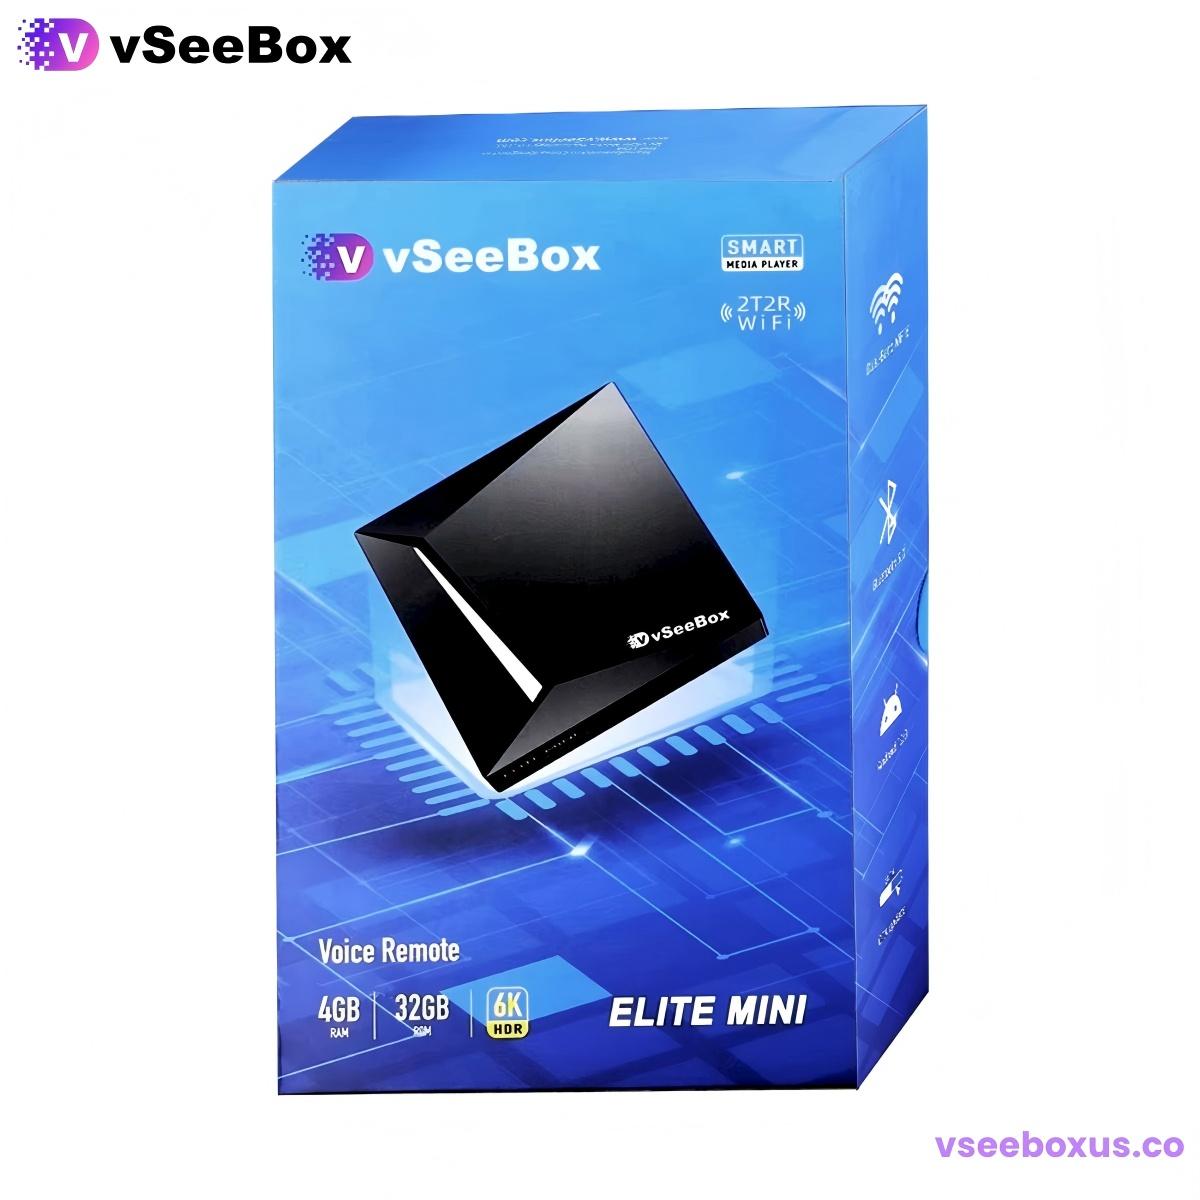
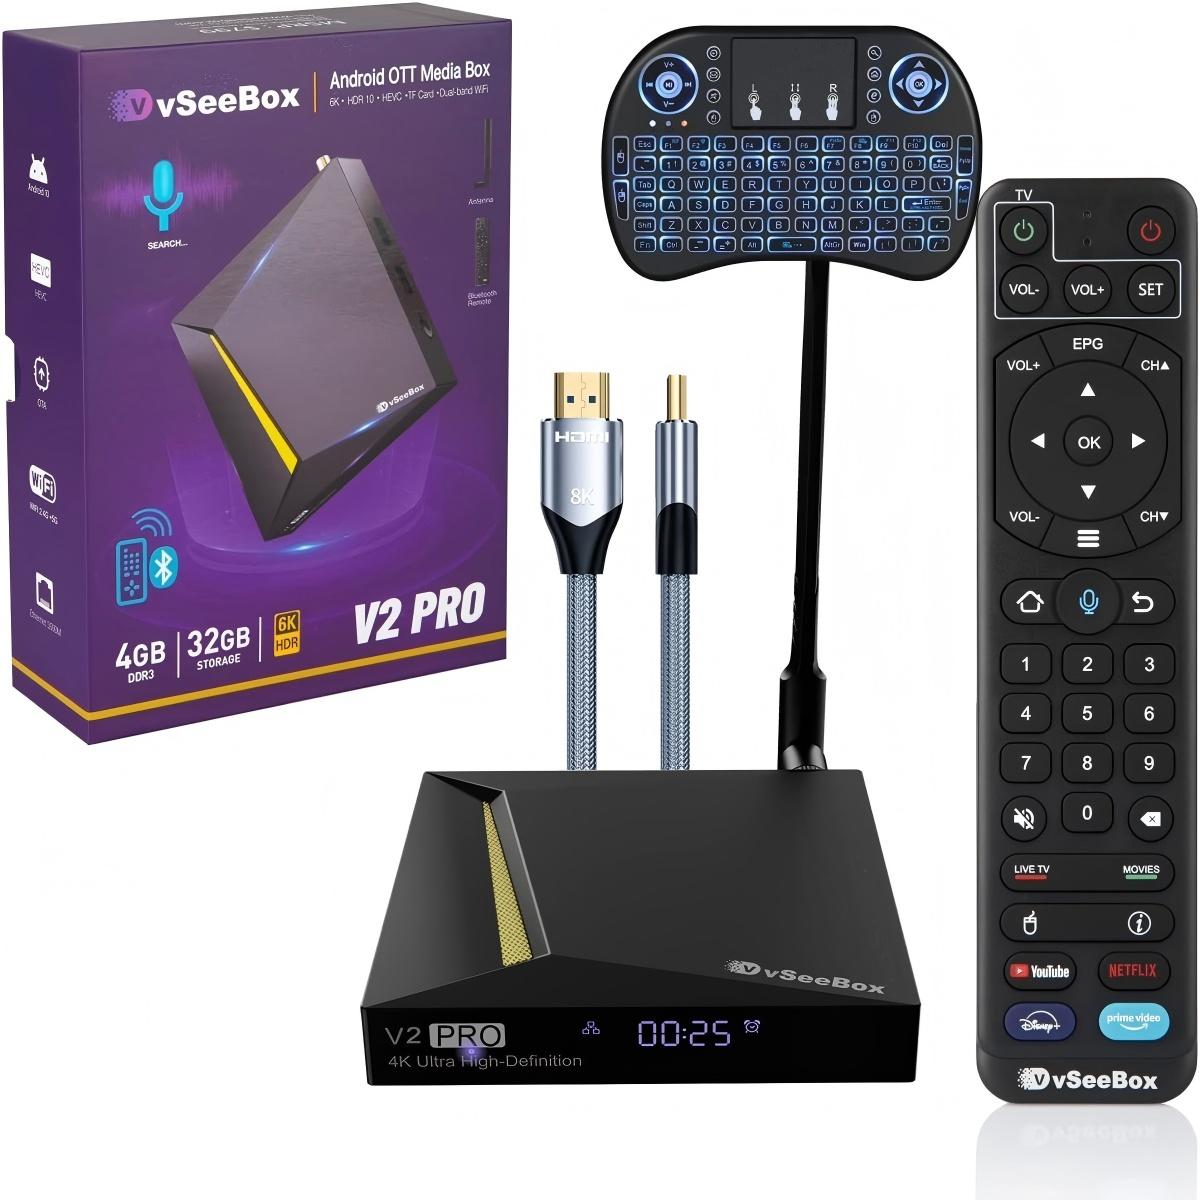
If you are a user located in United States and just got your brand new vSeeBox V6 Pro streaming box, this practical and detailed setup tutorial is exactly what you need.
We sort out the most standard and daily-used installation steps based on actual using experience. No complicated professional knowledge, no redundant operation, even if you use smart TV box for the first time, you can complete all configurations smoothly.
Prepare All Accessories First
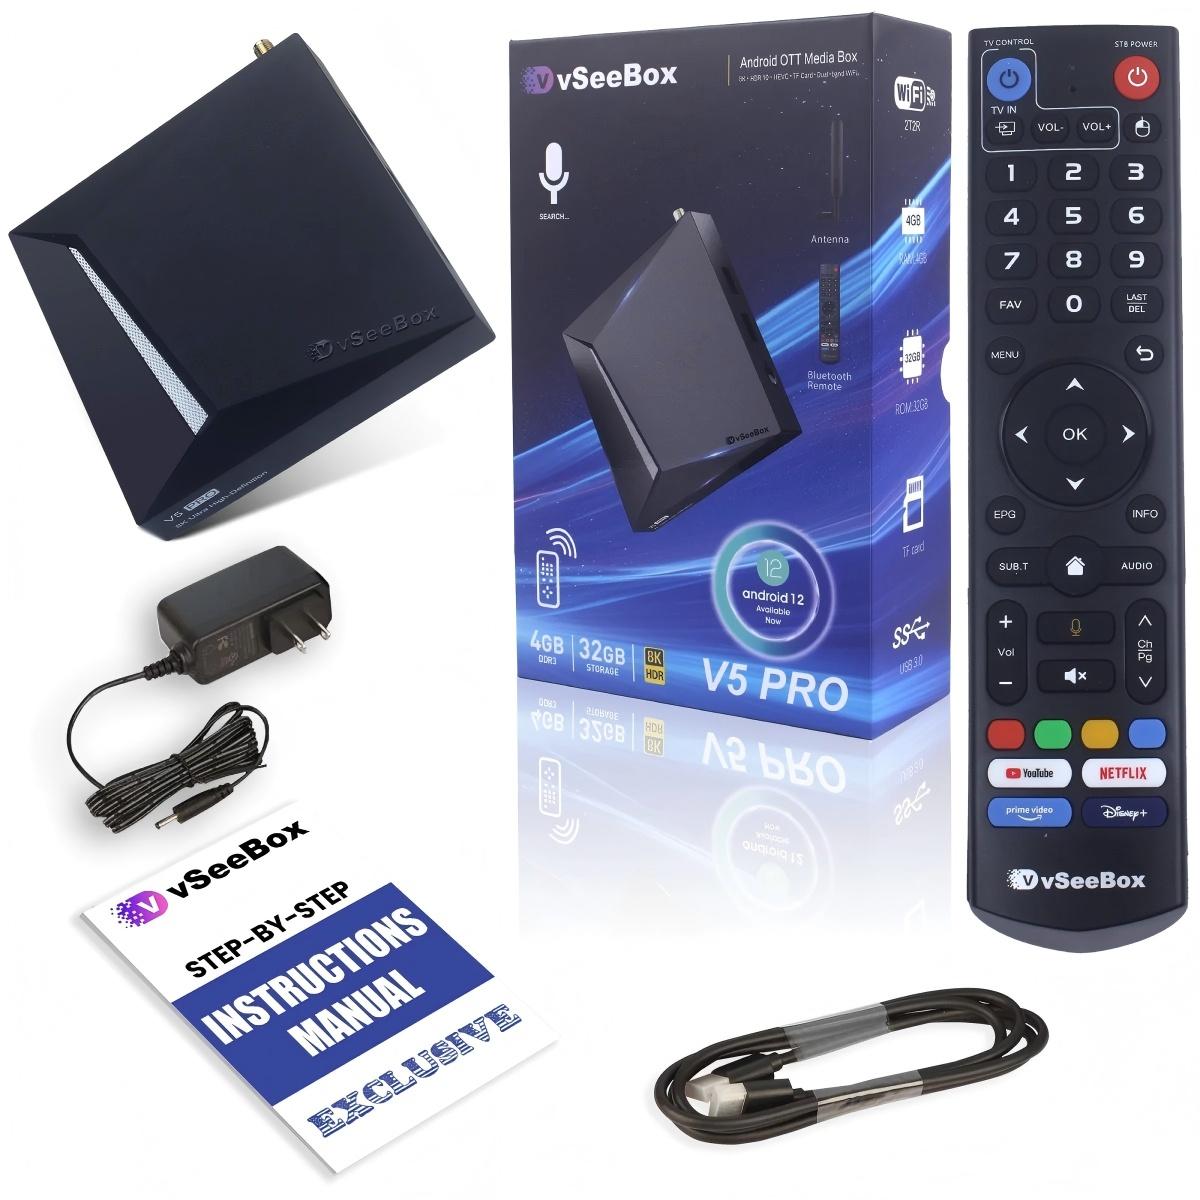
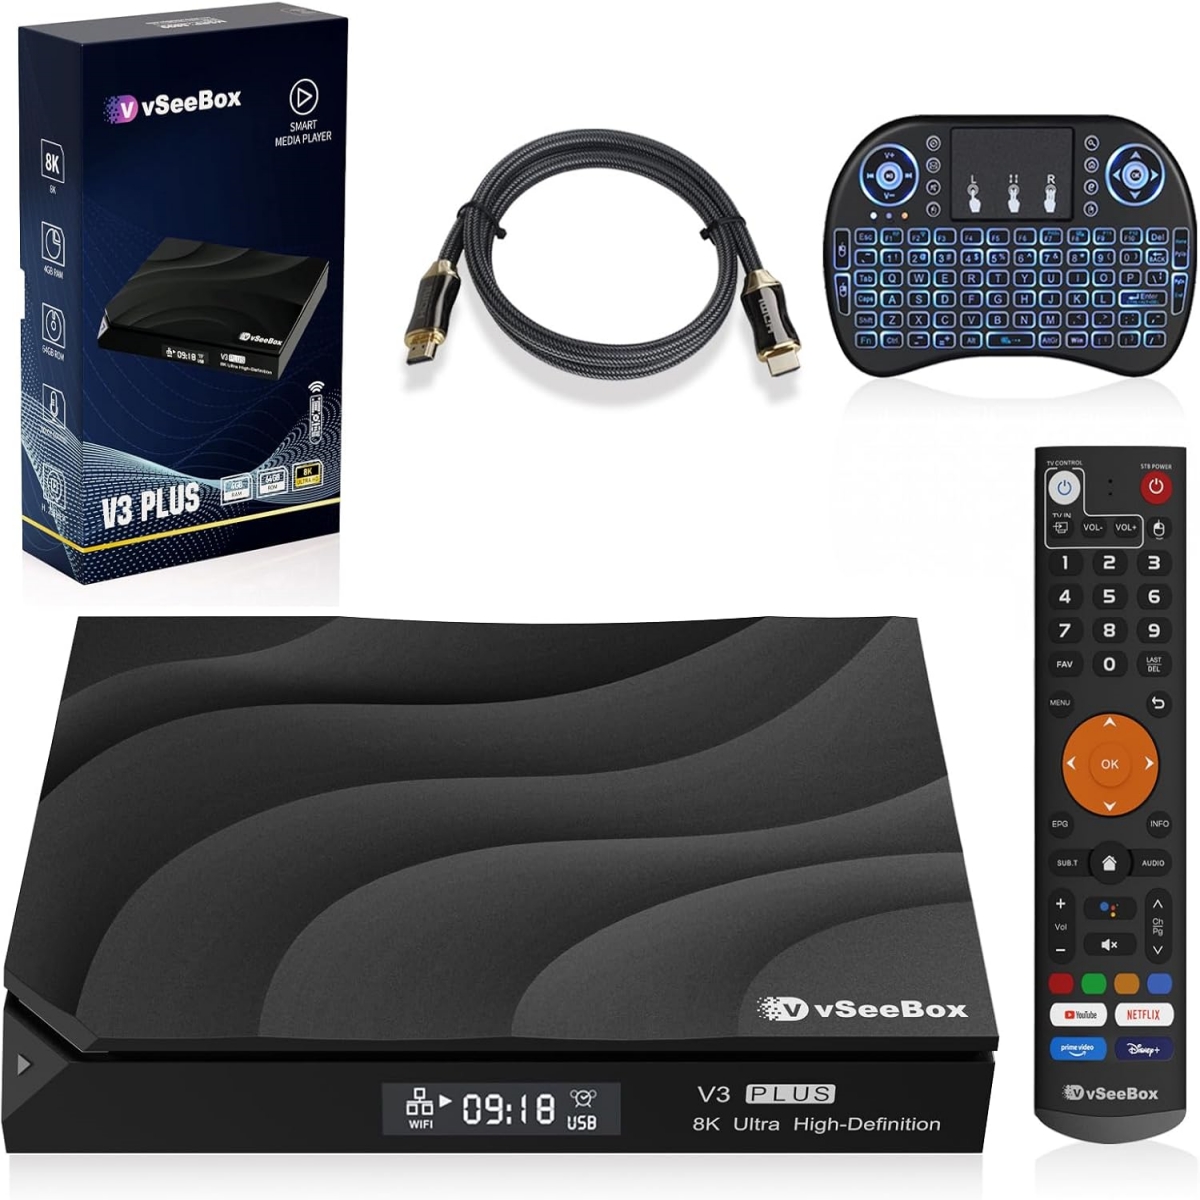
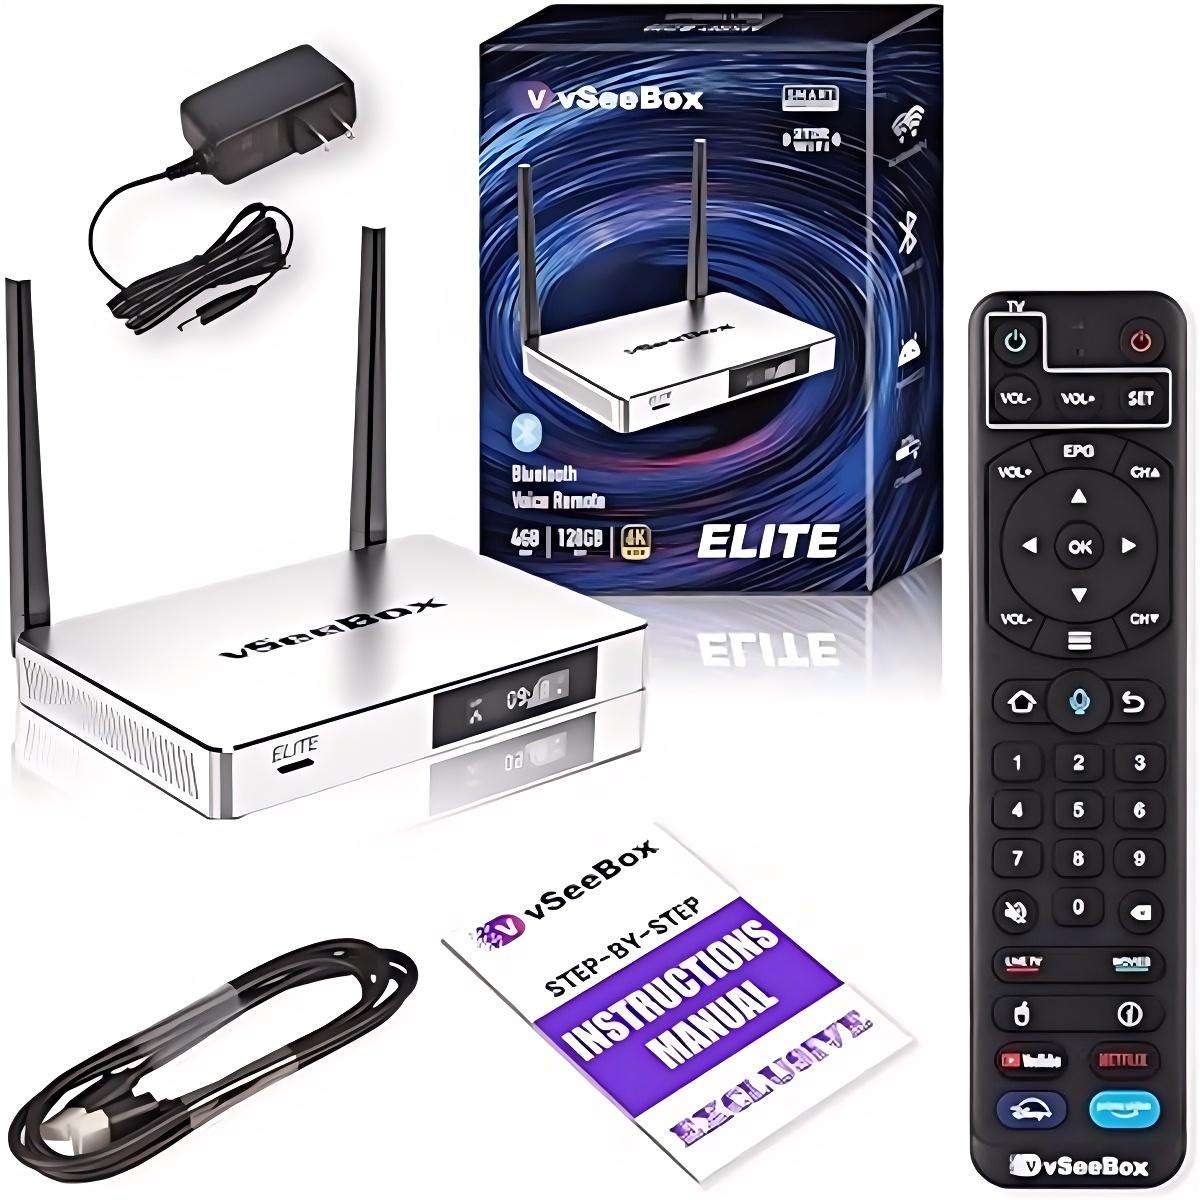
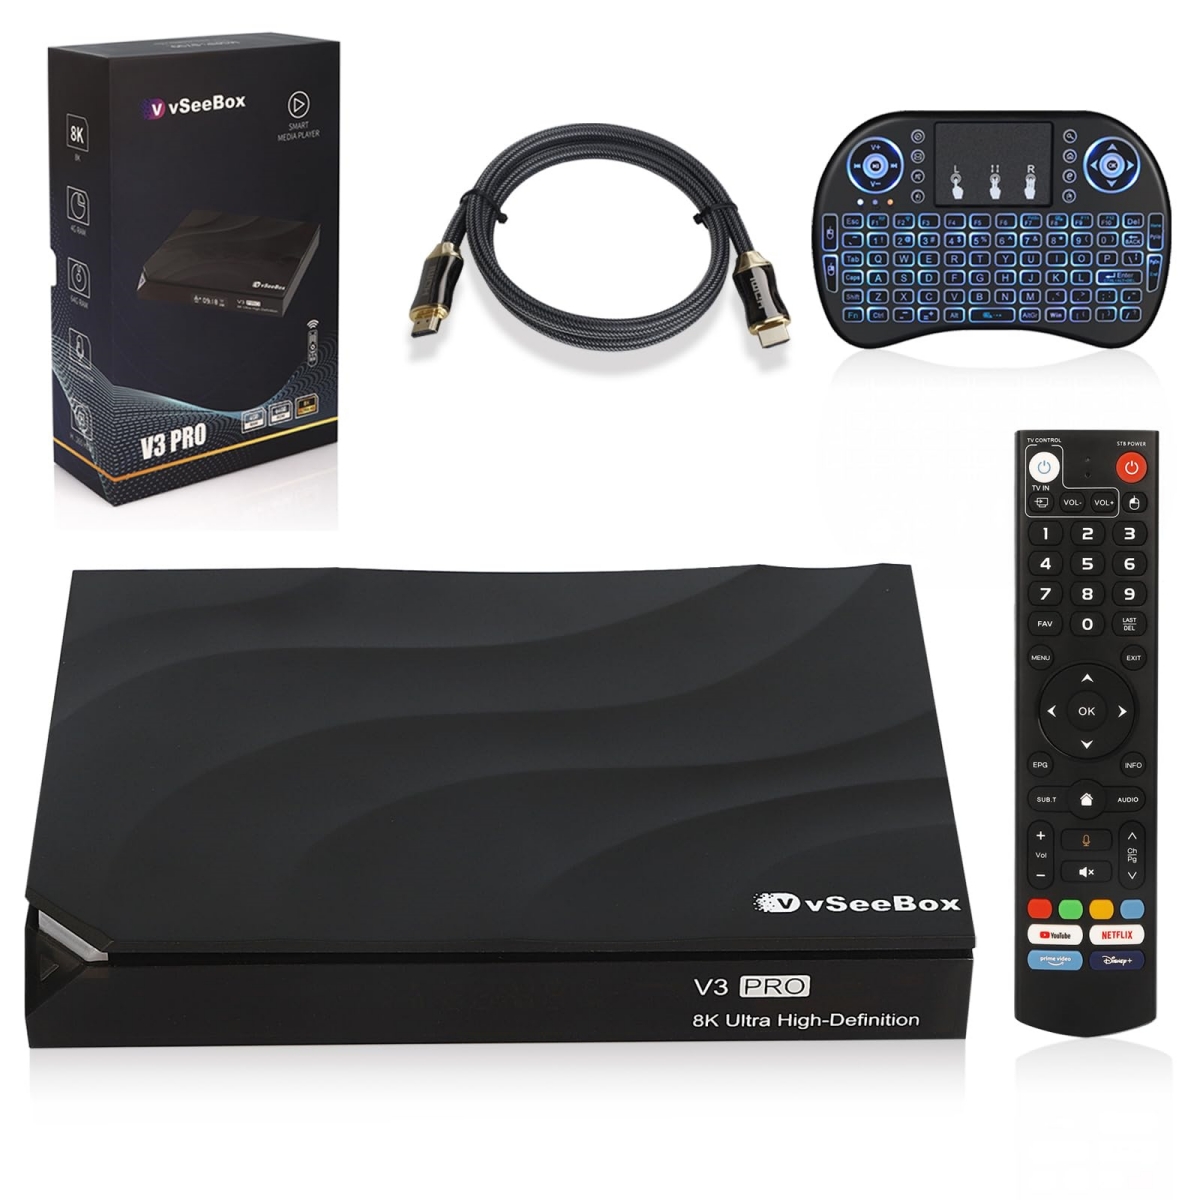
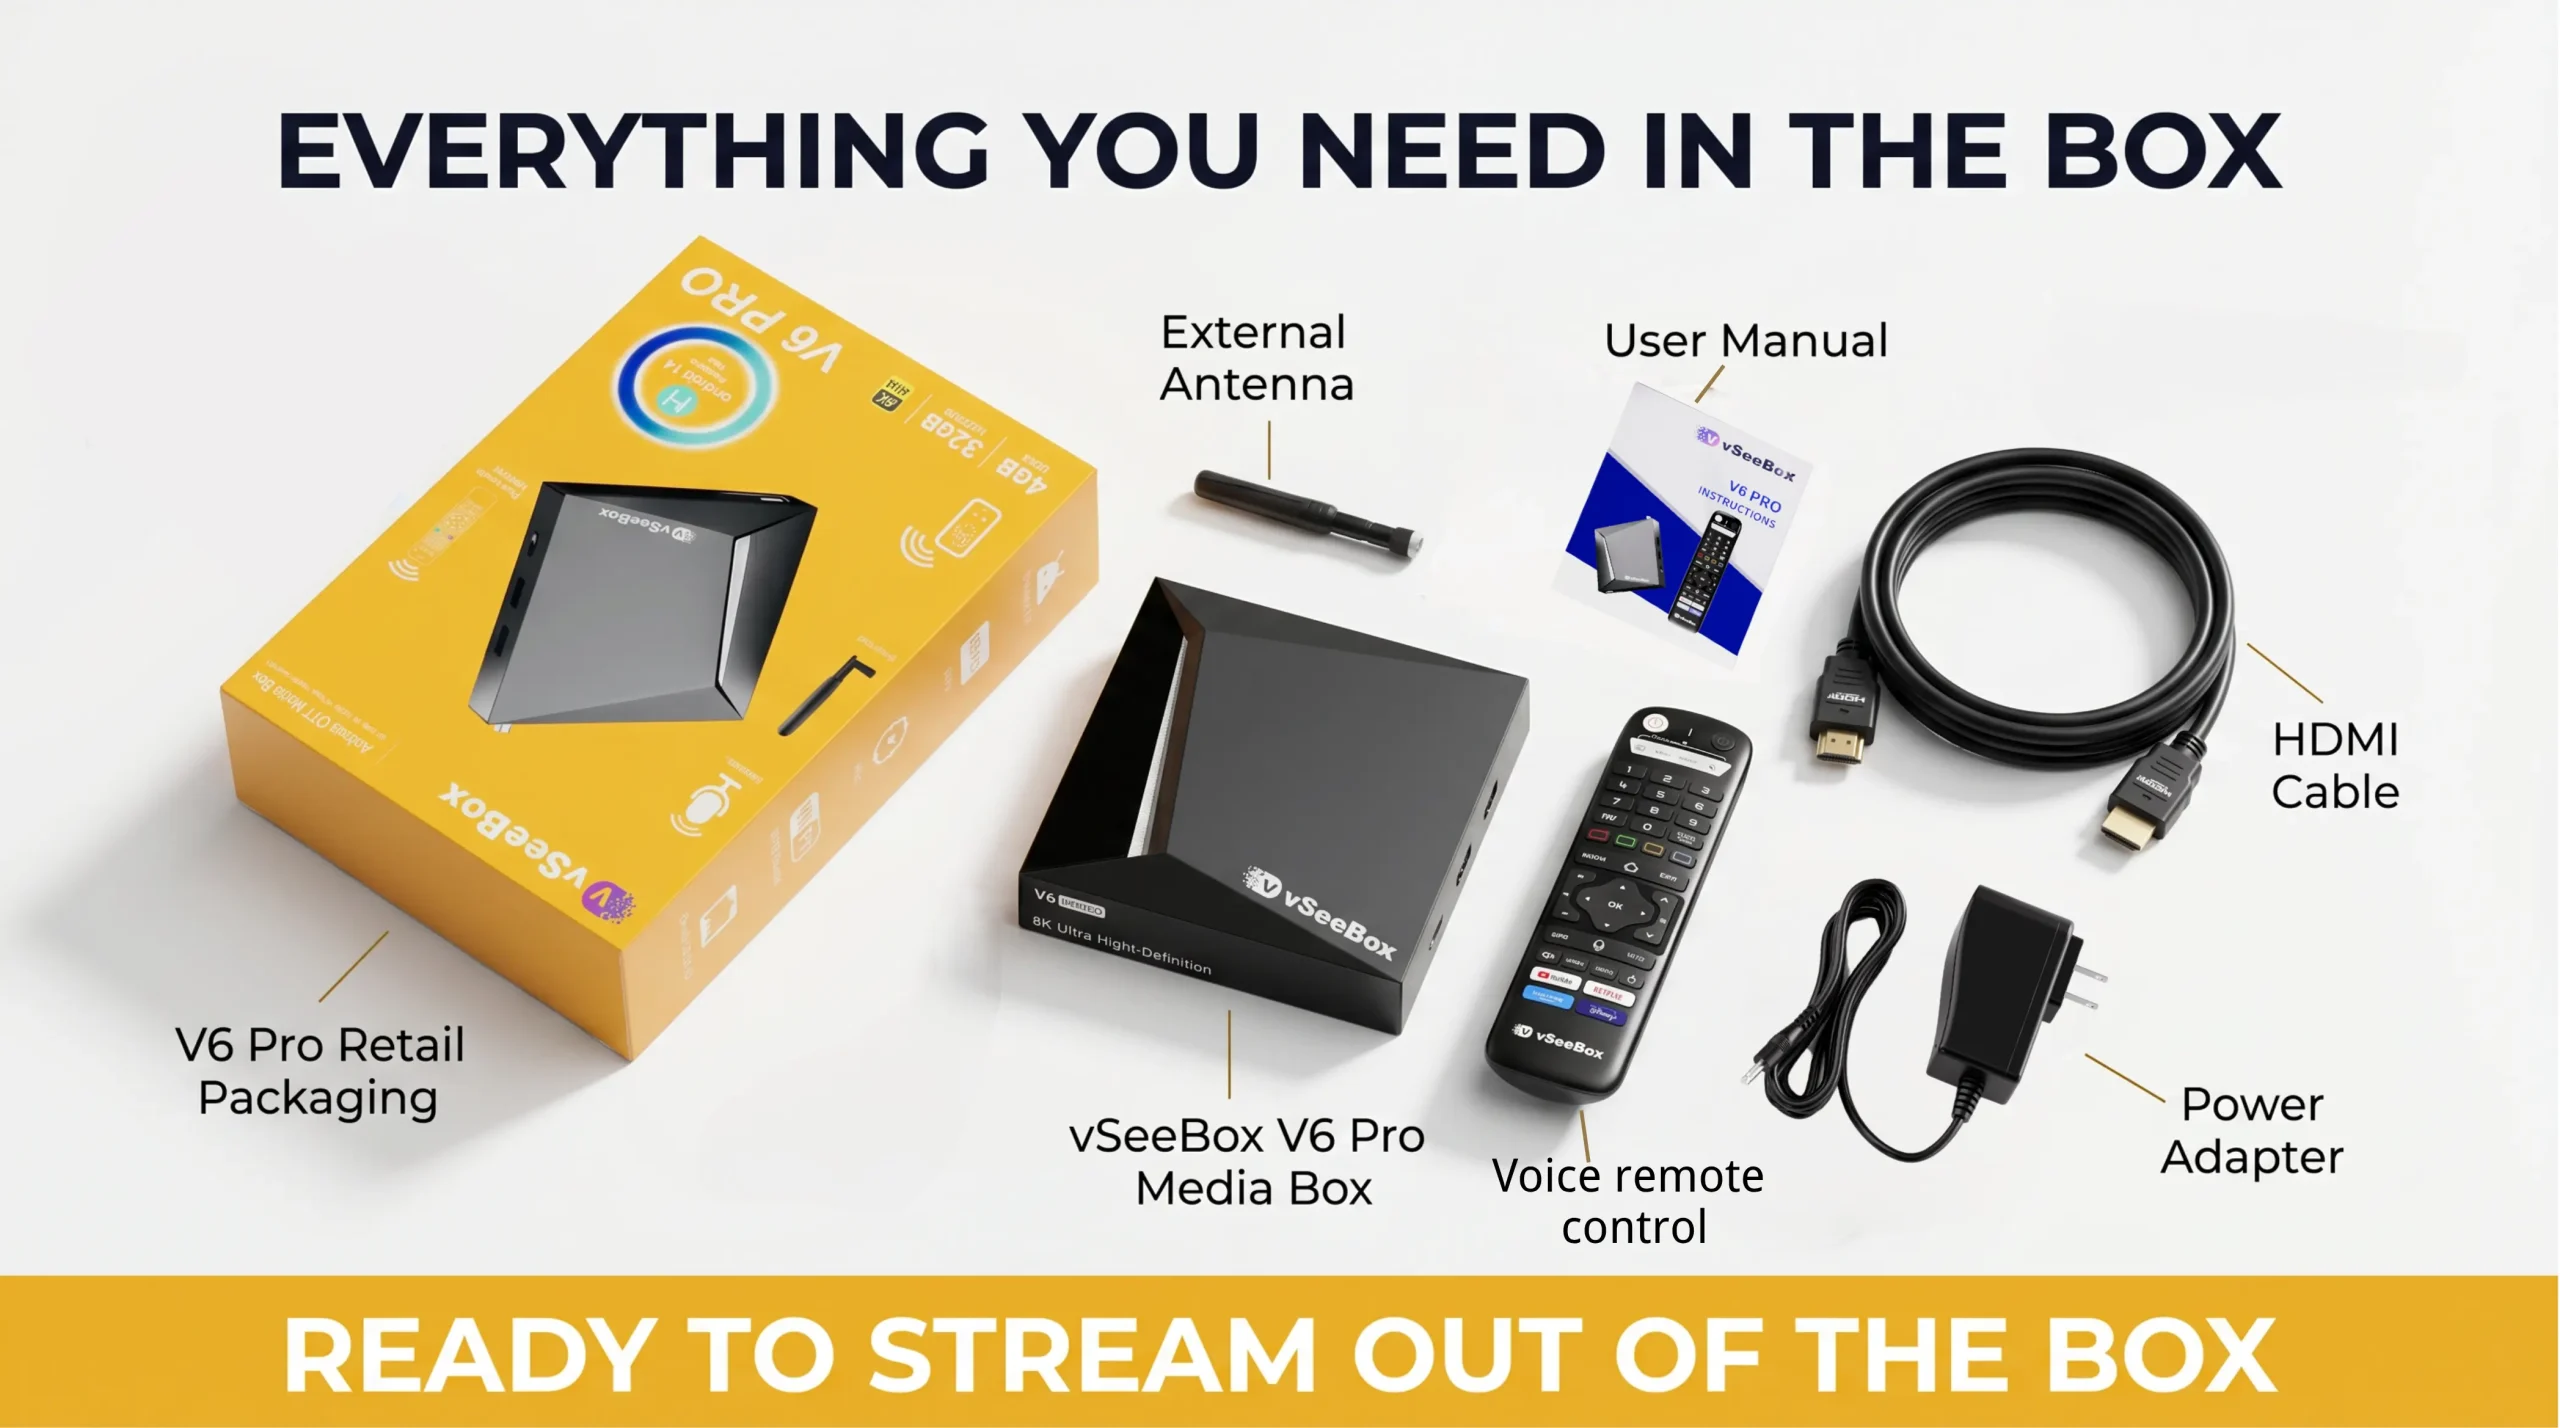
Before starting installation, please check all complete accessories inside the package:
- vSeeBox V6 Pro main device
- Bluetooth voice remote control
- High gain Wi-Fi receiving antenna
- Standard HDMI 2.0 connection cable
- Universal voltage power adapter
- Official paper user instruction manual
Step 1 Complete Basic Hardware Connection
This is the simplest part of the whole installation process, just follow fixed order to connect.
First, connect one end of matched HDMI cable to the interface of vSeeBox V6 Pro, and insert the other end into the spare HDMI port on your home TV.
Secondly, screw the matched high gain Wi-Fi antenna to the reserved interface on the back of the device, which can effectively enhance wireless signal receiving ability and bring more stable network experience in family space.
Finally, connect the power adapter to the device, and plug the power cord into household power socket. After power on, the device will enter standby state normally.
Step 2 Successfully Pair Bluetooth Remote Control
Different from traditional infrared remote control, vSeeBox V6 Pro adopts Bluetooth wireless remote design, which needs simple pairing before normal use.
Prepare two AAA batteries and install them correctly into the remote control. Keep the remote close to the streaming box, press and hold OK button and volume down button at the same time for several seconds.
When the pairing successful prompt pops up on the TV screen, it means the remote control is successfully connected. After that you can freely control all functions of the device.
Step 3 Enter System Initial Setting Interface
Turn on your television and switch signal source to the corresponding HDMI channel, then you can see the system boot interface of vSeeBox V6 Pro.
The device runs stable Android 14 system, the initial setting interface is concise and clear. You can select system display language according to personal preference, and adjust screen display range to make the picture fully fit your TV screen without edge cutting.
Then select the correct local time zone to ensure the system time is consistent with local daily time, which is convenient for daily viewing and schedule arrangement.
Step 4 Connect Home Network Stably
Network connection directly determines the smoothness of daily streaming viewing, here are two common connection ways for you to choose.
The first way is wireless Wi-Fi connection. Open network setting, search your home local wireless network, input correct password to finish connection. It is recommended to prefer 5G frequency band wireless network, which has faster transmission speed and less signal interference.
The second way is wired network connection. Insert network cable into the gigabit network port of the device, the system will automatically identify and connect successfully. This way has the most stable signal, very suitable for long time watching movies and video programs.
After network connection is completed, the system will automatically detect official version updates quietly in the background, users do not need to operate manually.
Step 5 Daily Practical Function Setting Suggestions
In order to let you get better daily using experience, we sort out several practical optimized settings suitable for family entertainment.
Adjust video playback definition according to your TV configuration. For mainstream smart TVs, you can turn on 4K HDR high definition mode to restore rich picture colors and clear picture details.
Make good use of built-in voice control function. When you are resting on the sofa, you can quickly search favorite programs, open commonly used applications and adjust system volume through simple voice commands.
Take advantage of sufficient built-in storage space, you can download and install all kinds of daily entertainment applications you like, and arrange desktop layout according to your own using habits. For more details about the device’s storage and other hardware advantages, check out the official vSeeBox V6 Pro product page.
Solve Common Small Problems in Use
In daily use, you may encounter some minor common problems, here are simple solutions.
If the remote control cannot be paired normally, please replace new batteries and keep closer distance to pair again.
If occasional playback stutter occurs, check whether the network signal is stable, properly close unused background applications to release running space.
If the screen display is abnormal, re-adjust the screen zoom ratio in system settings to restore normal display effect.
Final Using Experience
The overall installation and setting process of vSeeBox V6 Pro is very friendly and close to the daily using habits of ordinary family users.
From hardware wiring to system function debugging, all operations are simple and easy to understand. After completing all settings, you can easily enjoy rich home entertainment content at any time.
Whether it is daily leisure drama watching, family movie watching or simple casual entertainment, this streaming box can bring smooth and comfortable using experience. It is a very practical good helper to upgrade home audio-visual life.