
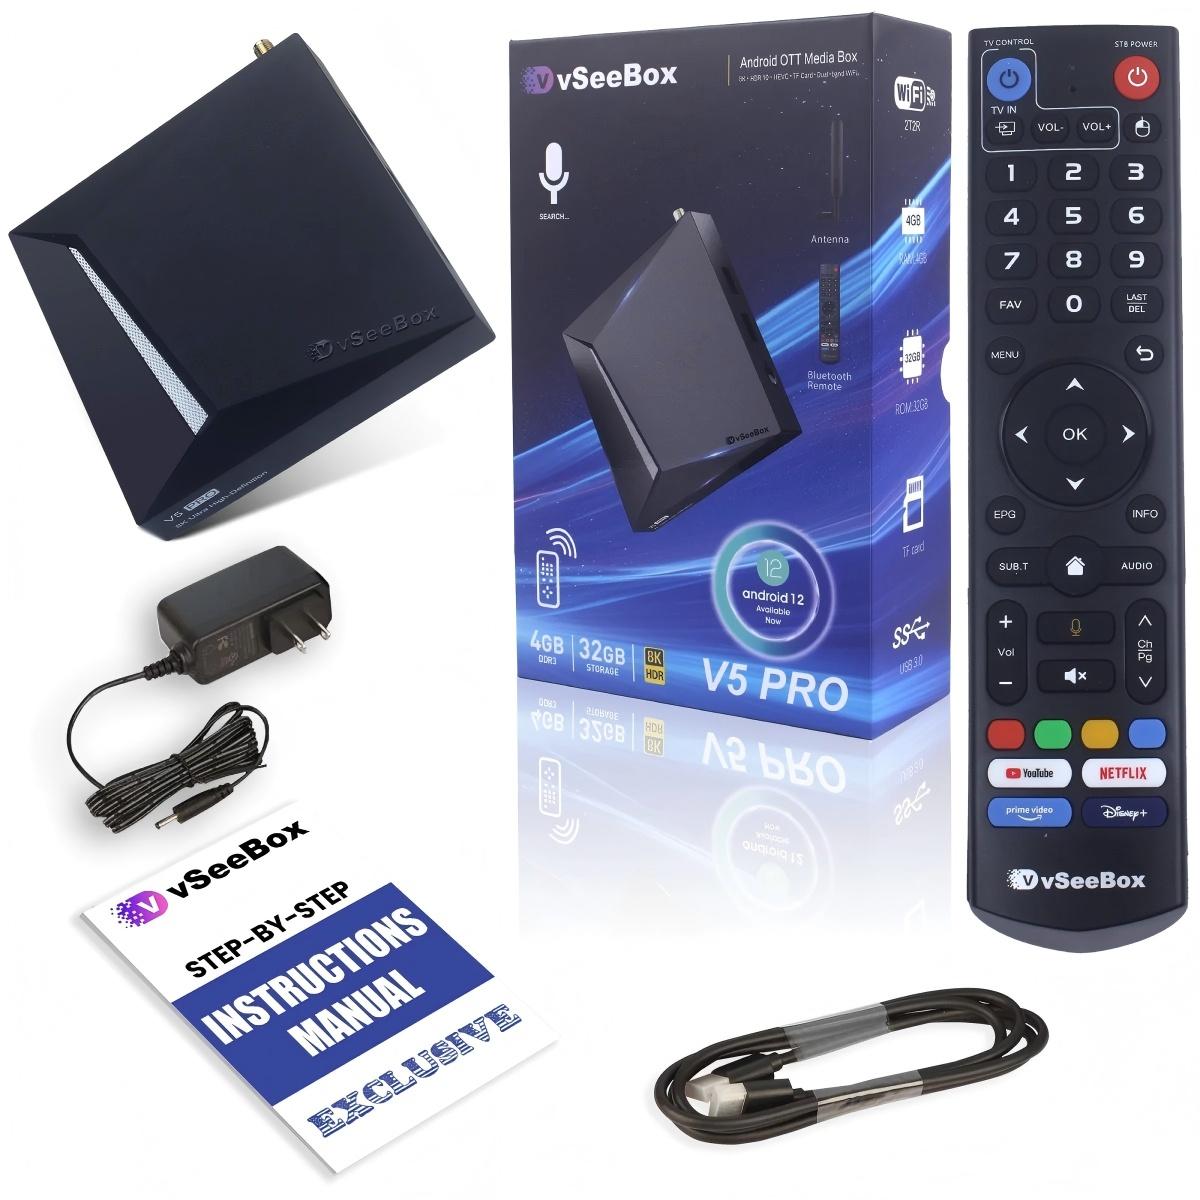
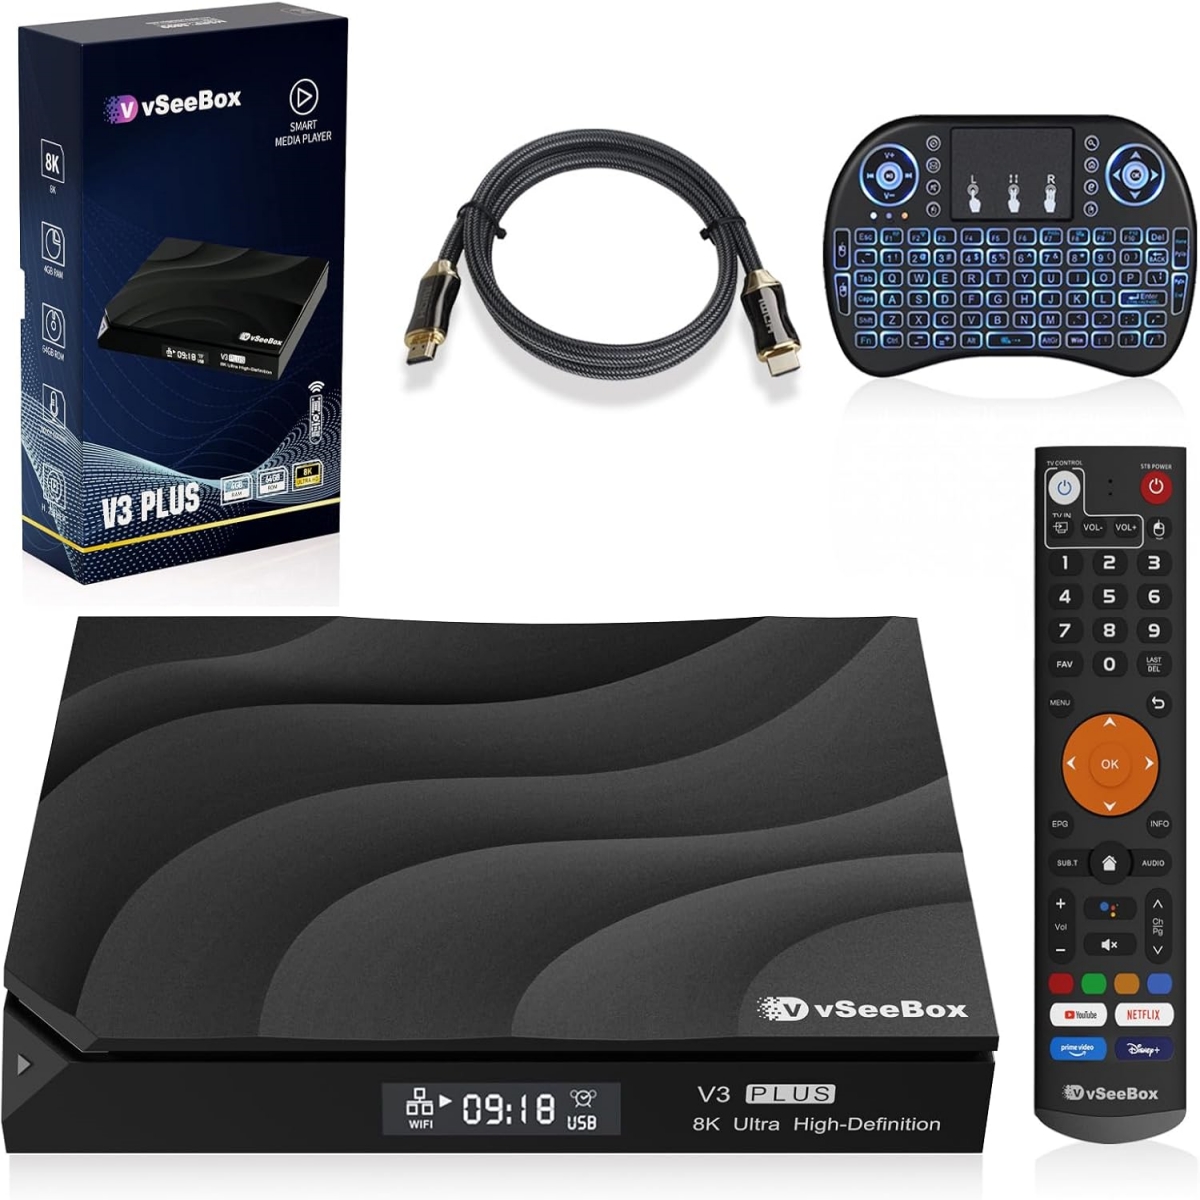
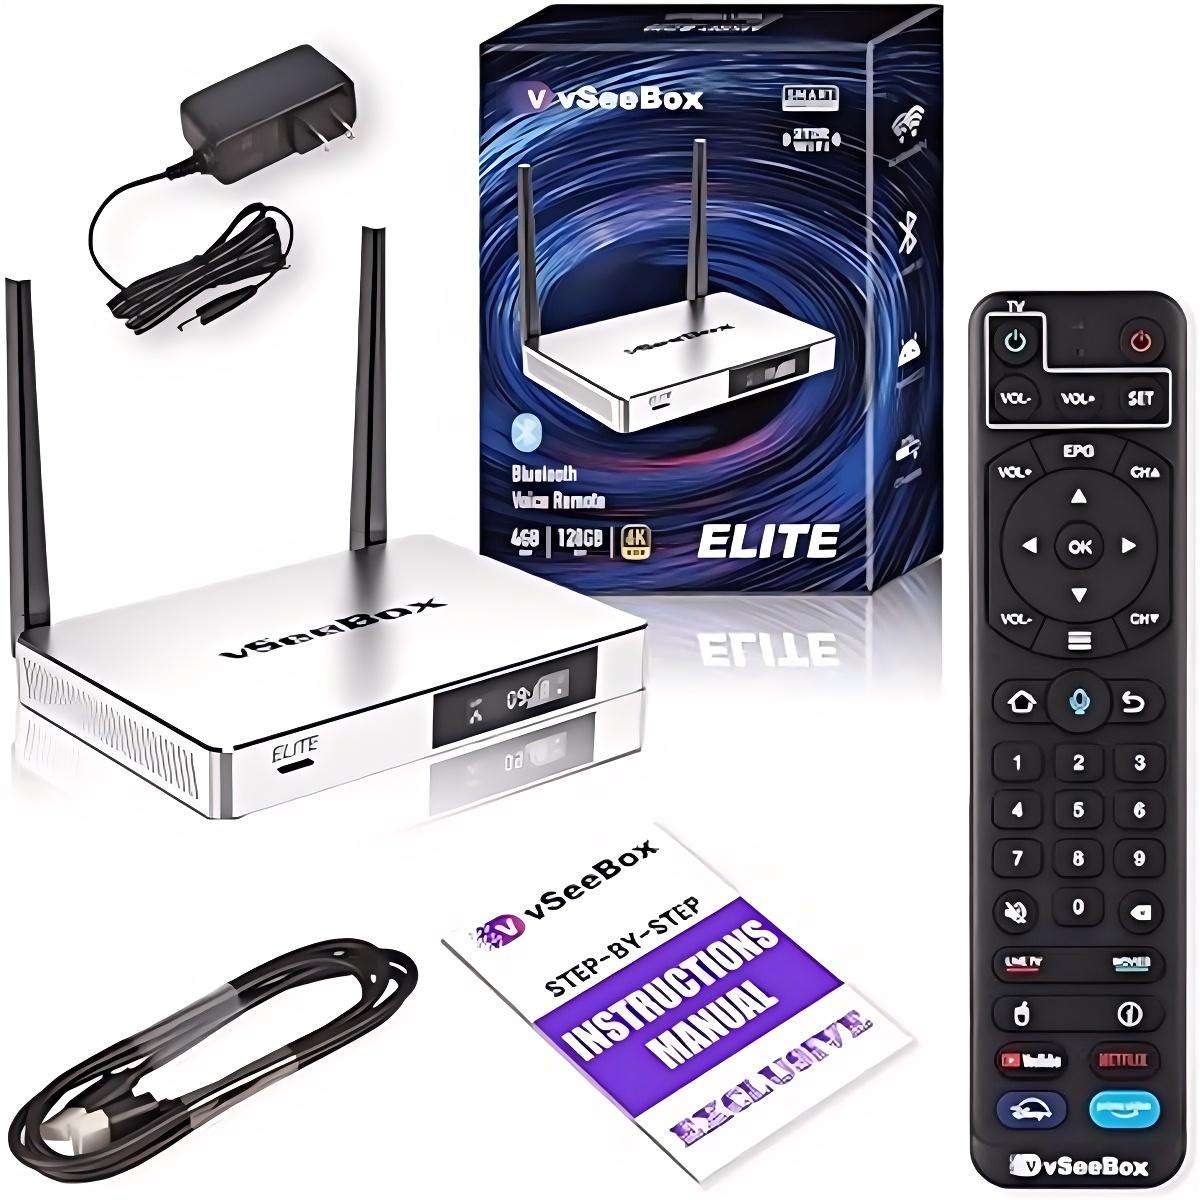
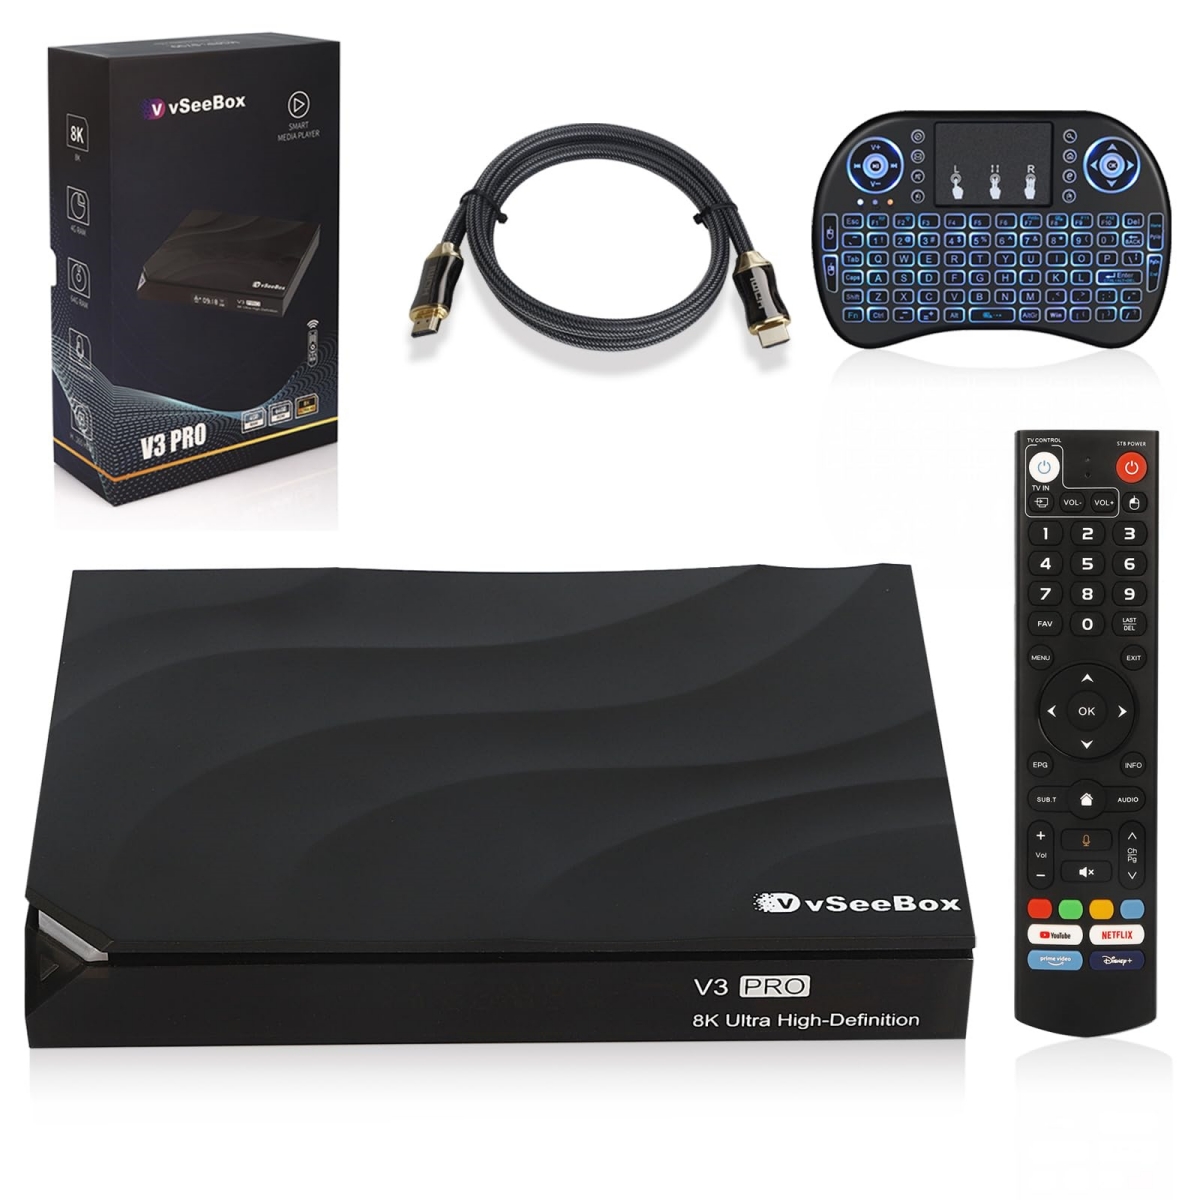
If you’ve just unboxed a new vSeeBox, or feel like your picture quality isn’t living up to the 8K promise, you’re not alone. Most TV boxes work right out of the box, but default settings rarely deliver the best possible image quality. A few simple tweaks to your display settings, HDMI setup and TV configuration can make a huge difference in sharpness, color and contrast.
As an official authorized vSeeBox dealer with years of hands-on support experience, we help customers optimize their picture quality every week. In this guide, we’re sharing 9 straightforward, no-jargon tips to get the clearest, most vibrant image from your vSeeBox. Every tip works for all V6 series models (V6 Plus, V6 Pro, V6 Max) and the Elite Ultra.
Why Default Settings Aren’t Always Best
Factory default settings are designed to work with any TV, not to deliver maximum quality. They often use conservative resolution settings, disabled HDR and generic color profiles to avoid compatibility issues. With a few minutes of adjustments, you can unlock the full potential of your device’s 8K decoding and HDR capabilities.
Part 1: Get the Basics Right First
These foundational steps make the biggest difference. Skip them, and finer settings won’t matter.
1. Use a Certified HDMI 2.1 Cable
This is the single most important step for 8K and HDR performance. A low-quality or old HDMI cable can’t carry enough bandwidth for 8K@60fps and HDR signals, even if your box and TV both support it.
- For 8K@60fps playback, always use a certified HDMI 2.1 cable.
- Avoid long, thin or cheap cables — they often cause signal dropouts, washed-out colors or resolution limits.
- Make sure both ends are plugged in firmly, with no adapters or extenders in between.
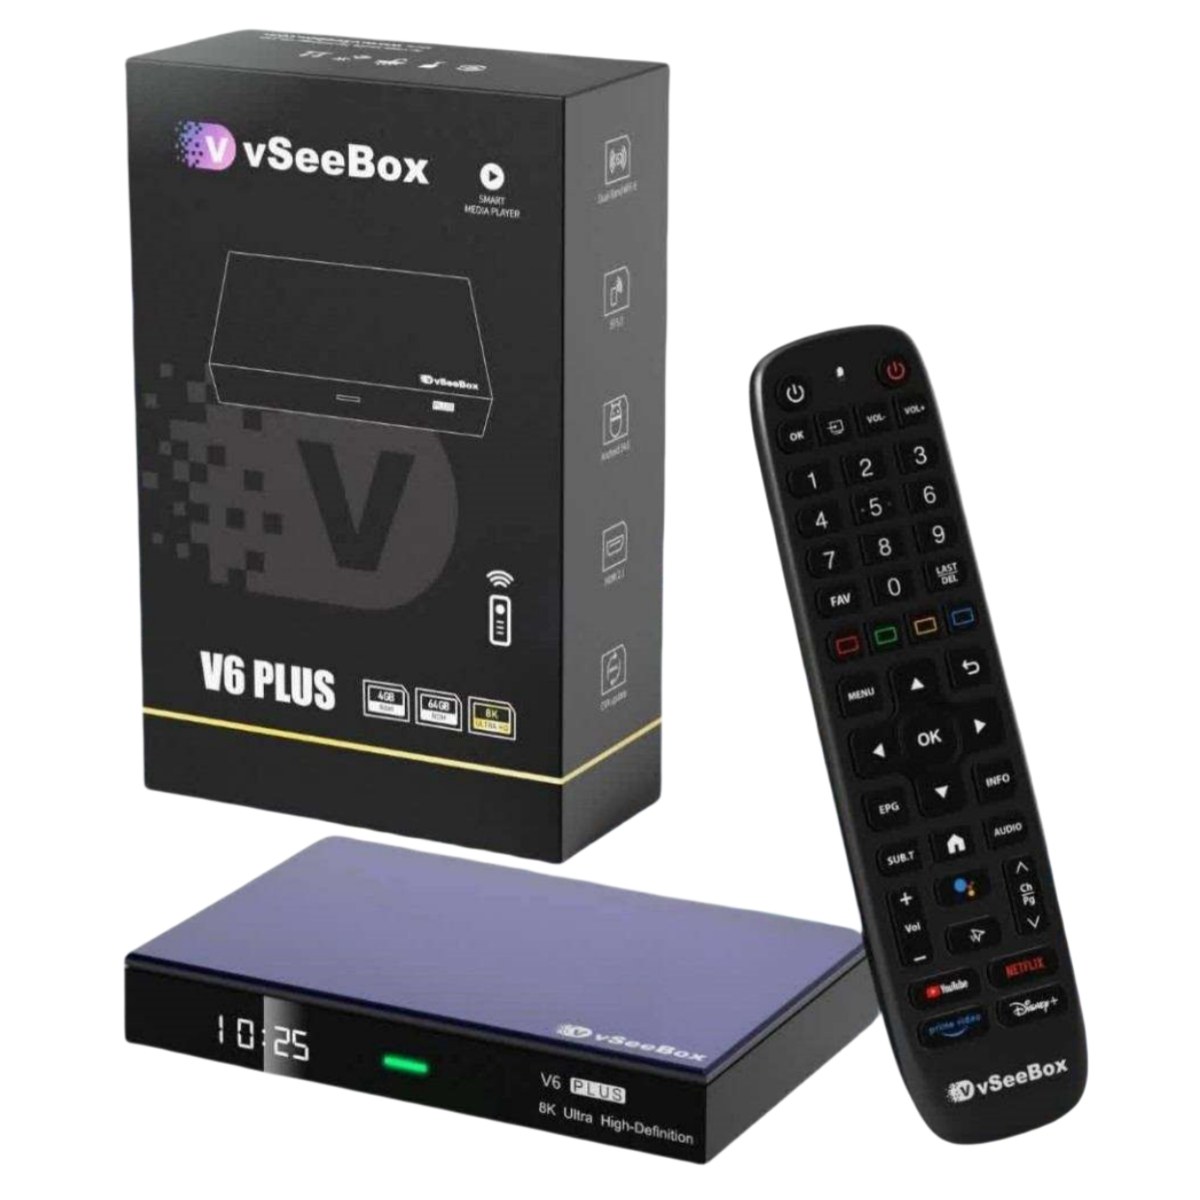
The vSeeBox V6 Plus includes full HDMI 2.1 output support for the highest possible 8K picture quality on compatible displays.
2. Match Resolution to Your TV’s Native Display
It’s common to set the box to the highest available resolution just because it’s there — but if your TV doesn’t have a native 8K panel, you’re wasting processing power and won’t see any improvement.
- If you have a 4K TV, set output to 4K@60Hz for the best balance of sharpness and smoothness.
- Only select 8K output if you have a true 8K television.
- Avoid stretched or scaled resolutions — native matching always looks sharpest.
3. Enable the Correct HDMI Port Setting on Your TV
Many modern TVs have multiple HDMI ports, but not all of them support 8K or HDR. Some ports only work at lower bandwidth for older devices.
- Check your TV manual to find which port supports HDMI 2.1 / enhanced signal format.
- In your TV settings, set that port to “Enhanced” or “8K/HDR” mode instead of the standard default.
- This is one of the most commonly missed steps, and the #1 reason HDR doesn’t activate properly.
Part 2: Color & HDR Optimization
These adjustments make colors more vibrant and dark scenes more detailed.
4. Turn On HDR for Supported Content
HDR (High Dynamic Range) delivers brighter highlights, deeper blacks and more realistic colors — but it only works if enabled on both the box and your TV.
- In your vSeeBox display settings, make sure HDR output is set to “Auto” or “On” for supported content.
- On your TV, enable HDR mode for the HDMI port your box is connected to.
- HDR works best in dim or dark viewing environments; for bright daytime viewing, standard SDR may look better.
5. Adjust Color Settings for Natural Results
More color isn’t always better. Oversaturated colors look unnatural and can cause skin tones to appear wrong.
- Start with the “Standard” color profile — it’s usually the most accurate.
- If colors feel dull, increase saturation slightly, but stop before skin tones start to look unnatural.
- For movie watching, choose a warmer color temperature; for bright sports or news, a neutral temperature works well.
6. Set Sharpness to the Right Level
Many people turn sharpness all the way up, thinking it makes the picture clearer. In reality, too much sharpness adds artificial edge halos and grain, making the image look worse.
- Start at 25-35% sharpness for most content.
- Increase slightly only if the image feels soft or blurry.
- For high-quality 4K and 8K sources, lower sharpness usually looks more natural.
Part 3: Advanced Quality Tweaks
These small changes refine the viewing experience even further.
7. Choose the Right Aspect Ratio
Stretched or squashed picture is a common issue, especially with older TV models.
- Set aspect ratio to “Original” or “16:9” for most modern content.
- Avoid “Zoom” or “Stretch” modes — they cut off parts of the image and distort proportions.
- If the picture doesn’t fill your screen, adjust the overscan setting on your TV, not on the box.
8. Optimize for Your Viewing Environment
The best settings for daytime aren’t the same as for nighttime movie watching.
- For bright rooms: increase brightness slightly, reduce contrast a little, and use SDR mode.
- For dark home theater rooms: lower brightness, increase contrast, and enable HDR for the best depth.
- Avoid watching in total darkness with a very bright screen — it causes eye fatigue over time.
9. Keep Firmware Updated for Best Performance
vSeeBox regularly releases firmware updates that improve picture processing, fix HDR compatibility issues and add new display features.
- Enable automatic OTA updates in your system settings.
- After a major update, double-check your display settings — sometimes defaults reset after an update.
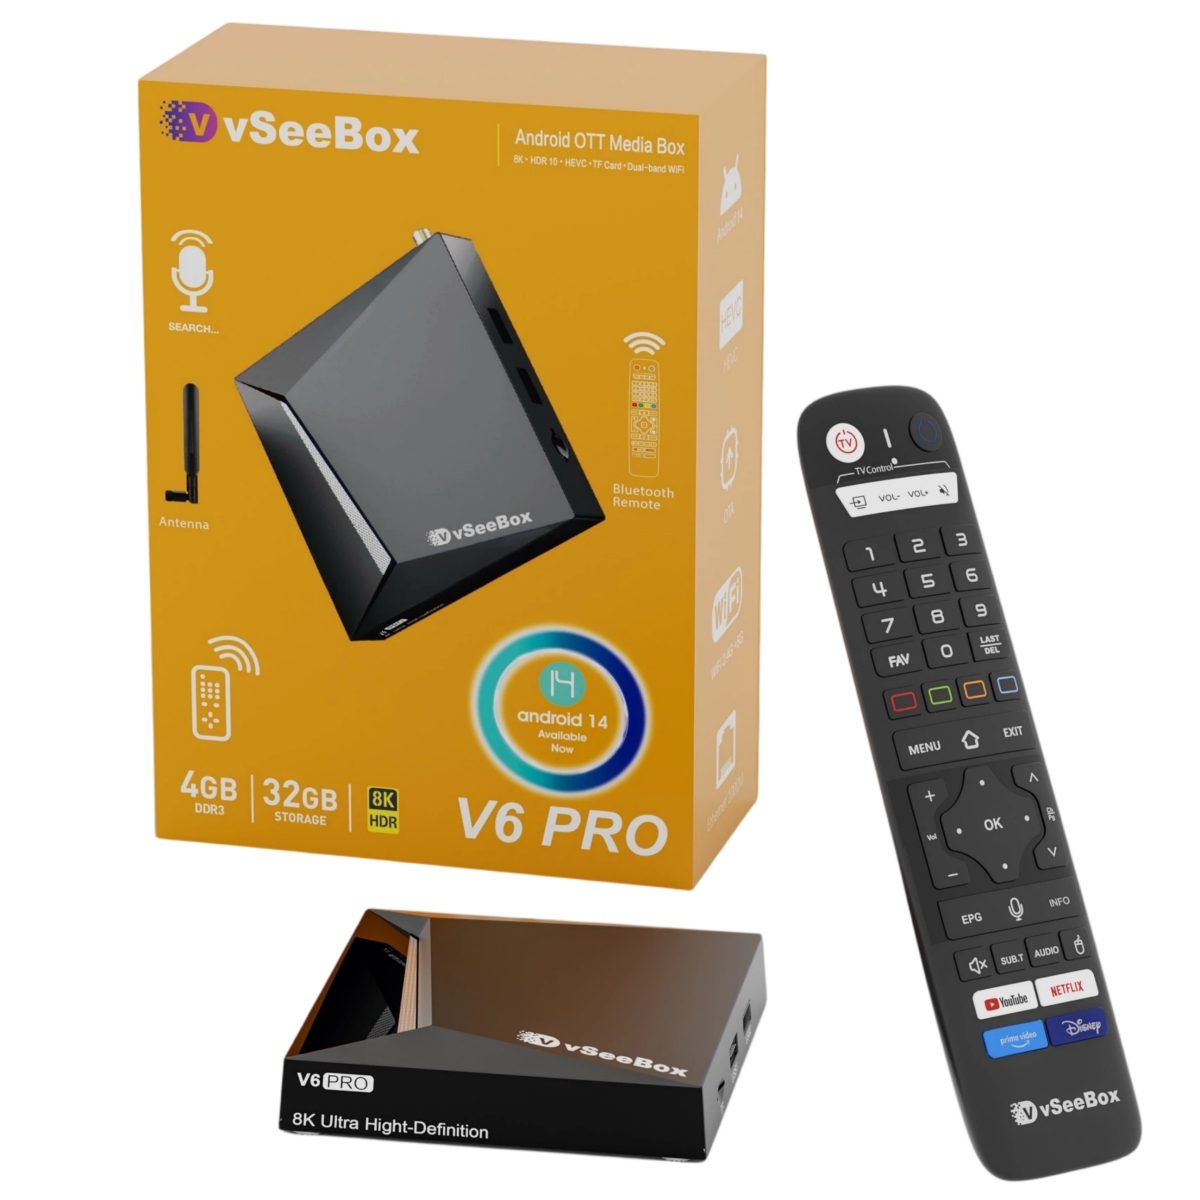
- Newer Android 14 models like the V6 series receive regular display optimization updates.
For more performance and speed tips, check our complete guide to speeding up your vSeeBox for smoother playback.
Common Picture Quality Problems & Quick Fixes
Picture looks washed out and pale
- Check that your HDMI cable is certified 2.1 and fully plugged in.
- Make sure HDR is enabled on both the box and your TV.
- Verify your TV’s HDMI port is set to enhanced signal mode.
Colors look oversaturated and unnatural
- Switch back to the Standard color profile.
- Reduce saturation slightly.
- Try a warmer color temperature setting.
8K option doesn’t appear in settings
- Confirm your TV actually supports 8K input.
- Use a certified HDMI 2.1 cable.
- Make sure you’re using the correct HDMI port on your TV.
Which vSeeBox Has the Best Picture Quality?
All current vSeeBox models support 8K decoding and HDR output, but higher-tier models deliver more consistent performance at maximum resolution.
- V6 Pro: Great 4K and 8K playback for everyday viewing at an accessible price.
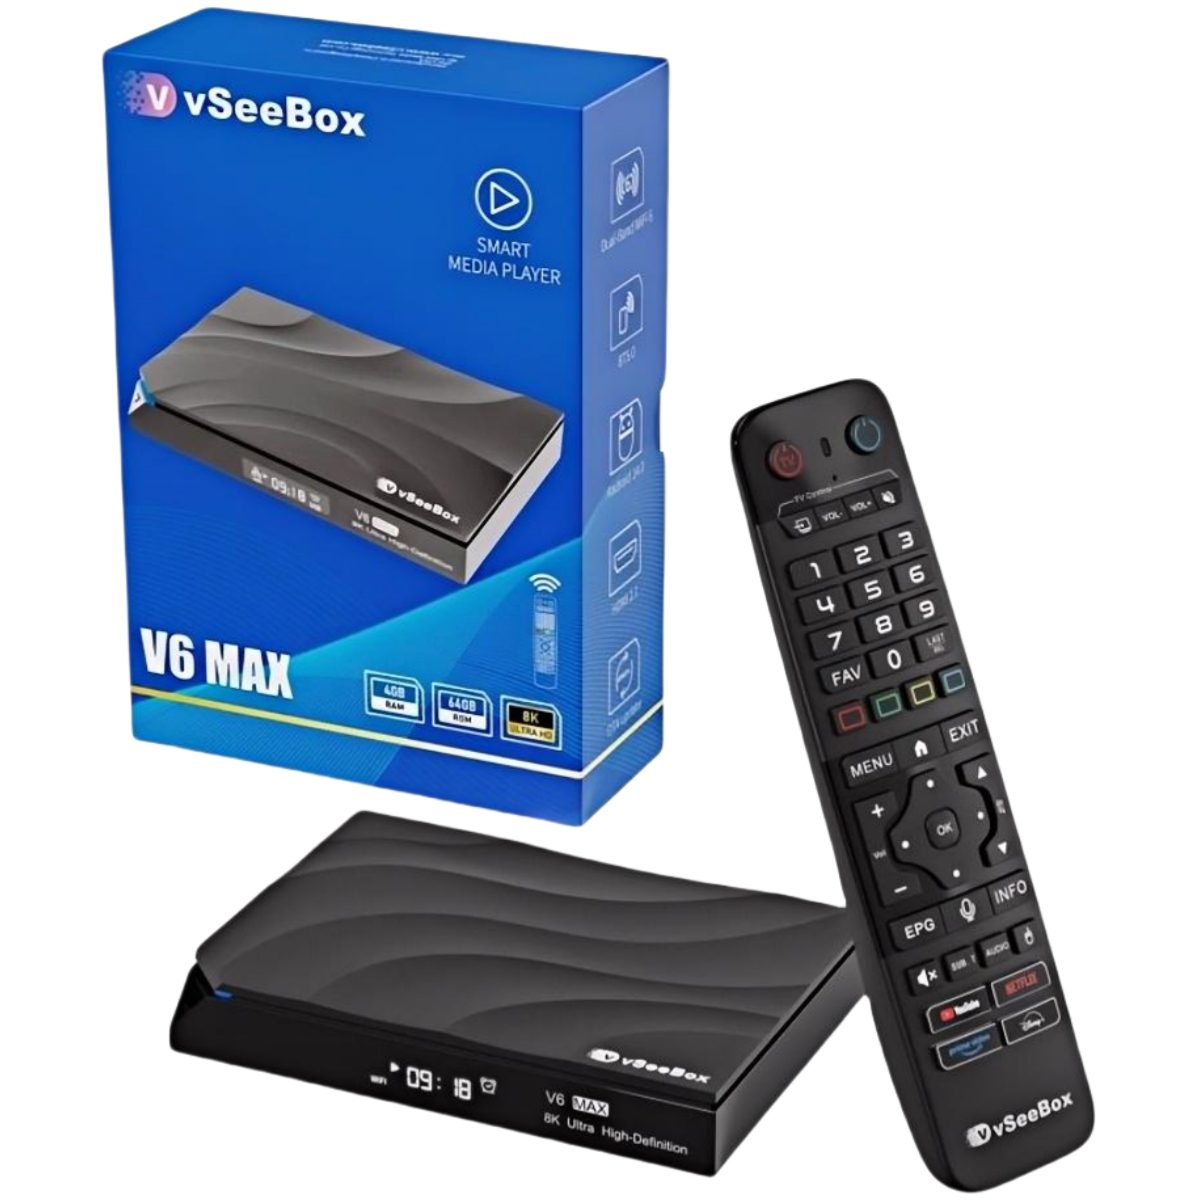
- V6 Max: Strong all-around performance with reliable 8K decoding.
- V6 Plus: Flagship picture quality with the Amlogic 905Y5 chip for the sharpest, most stable 8K output.
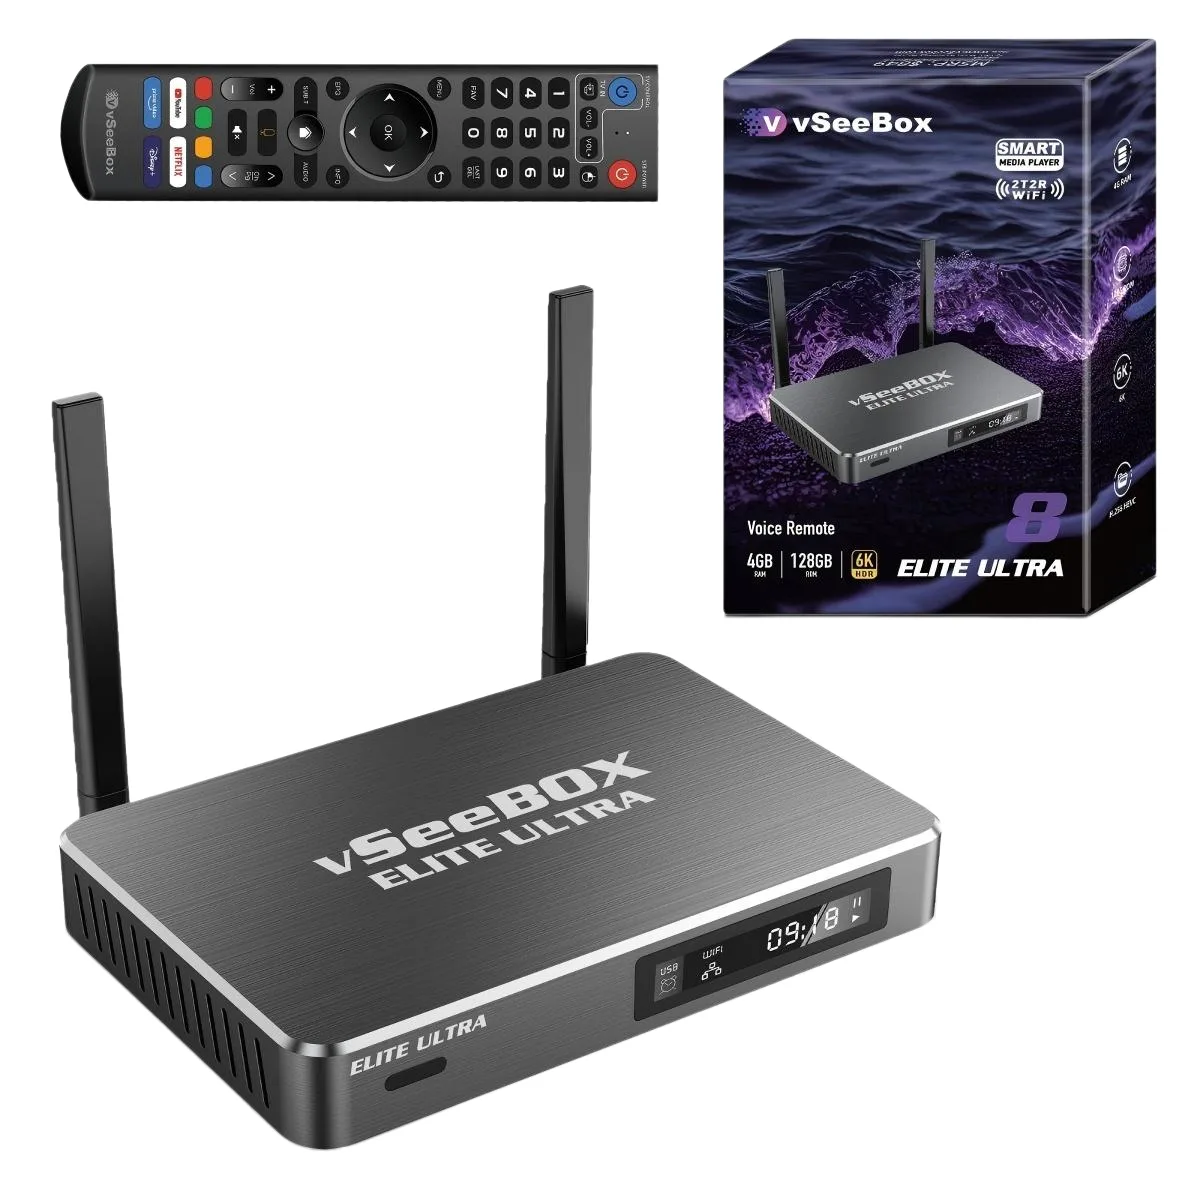
- Elite Ultra: Premium 128GB model with excellent HDR processing and Dolby Audio support.
Not sure which model fits your setup best? See our full V6 series comparison for a detailed side-by-side breakdown.
Final Thoughts
Getting great picture quality from your vSeeBox doesn’t require expensive upgrades or technical expertise. It mostly comes down to using the right cable, matching resolution to your TV, and enabling HDR properly. Spend 5 minutes walking through these 9 tips, and you’ll notice a clear improvement in sharpness, color and contrast.
Every vSeeBox purchased from our official store comes factory-sealed with genuine hardware and full 1-year warranty support. When you buy from an authorized vSeeBox retailer, you get authentic products and reliable US-based technical help whenever you need it.
Frequently Asked Questions
Q: Why isn’t HDR working on my vSeeBox?
A: The most common causes are a non-certified HDMI cable, using the wrong HDMI port on your TV, or HDR being disabled in your TV settings. Start by checking those three things first.
Q: Do I need an 8K TV to use a vSeeBox?
A: No. All vSeeBox models work perfectly with 4K and even 1080p TVs. You just won’t see 8K resolution benefits on a lower-resolution display.
Q: What’s the best resolution for daily use?
A: For most people with a modern 4K TV, 4K@60Hz is the best balance of sharpness, smoothness and compatibility.
Q: Will changing these settings fix buffering?
A: Picture settings affect quality, not streaming smoothness. If you’re having buffering issues, see our vSeeBox performance optimization guide for network and speed fixes.